Version 6 (2012)
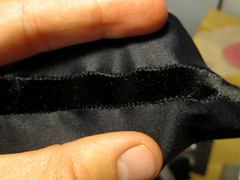
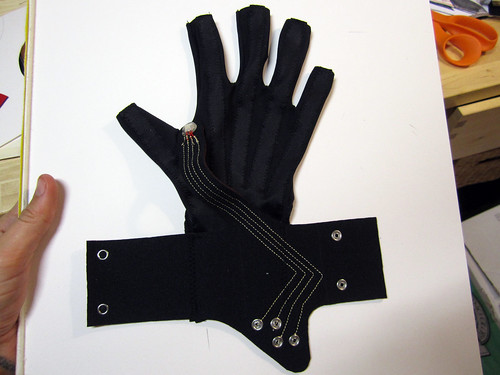
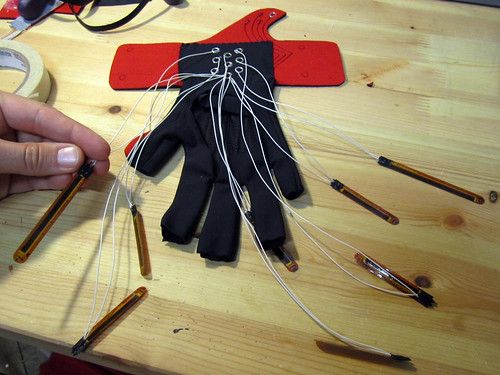
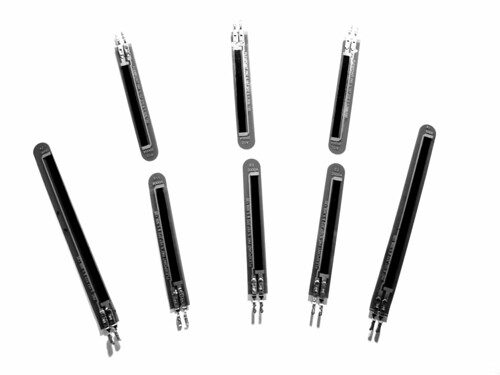
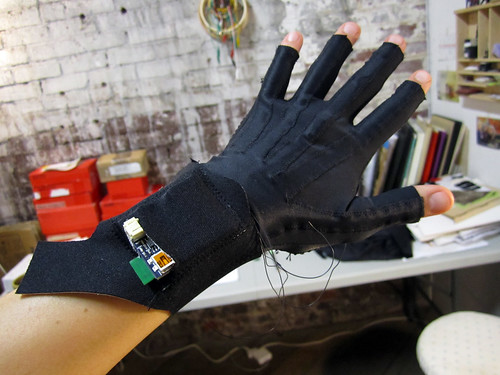
Version 6 abandons the idea of making fabric bend sensors and instead embeds commercial Flexpoint bend sensors into the fabric of the gloves.
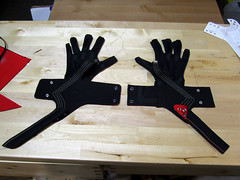
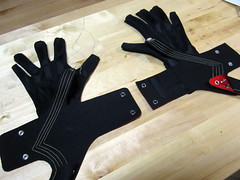
Gloves and Arm-Band
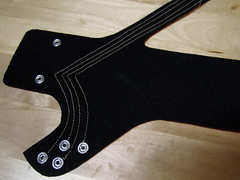
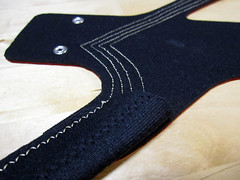
Video
Silly (and slightly boring) video of me putting on the gloves, showing the different colours of light and then taking the gloves off.
Unlisted link >> http://www.youtube.com/watch?v=aR1YnIj-DyM
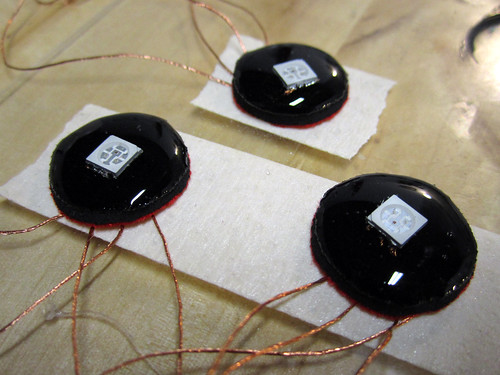
Final castings of strain-relief and LEDs:
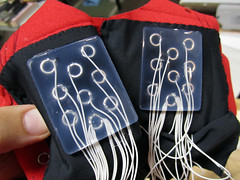
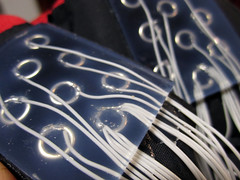
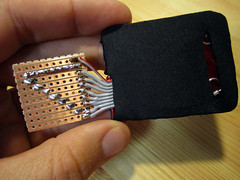
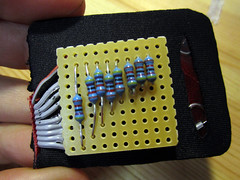
Adjusting pull-up resistors to 50K Ohm:
Video
Silly (and slightly boring) video of me putting on the gloves, showing the different colours of light and then taking the gloves off.
Unlisted link >> http://www.youtube.com/watch?v=aR1YnIj-DyM
Seb’s motherboard pouch, and how cables connect to it from the Arm-bands:

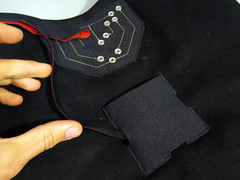
LED back panel without and with Arm-bands and x-IMU:

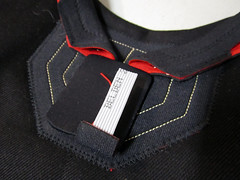
Designing the LED back x-IMU connector:


Figuring out the Arm-Band connectors and traces was not as easy as it looks.

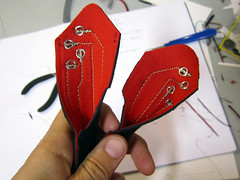
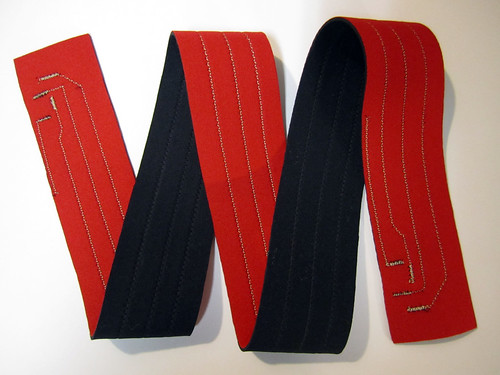
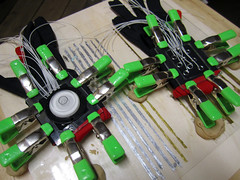
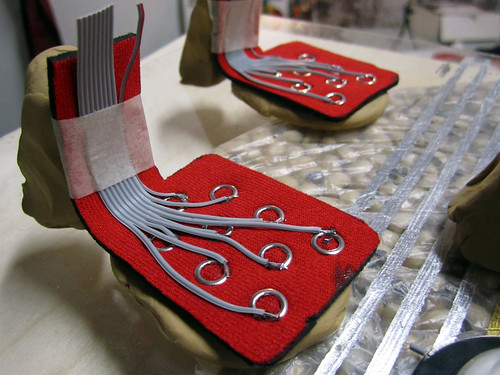
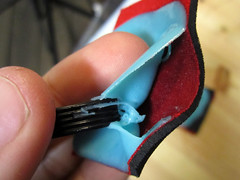
Hot glue instead of Dragon Skin silicone as strain relief on gloves, due to curing time and temperature constraints:
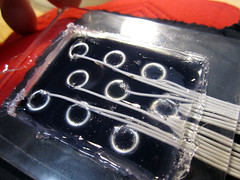
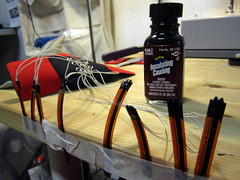
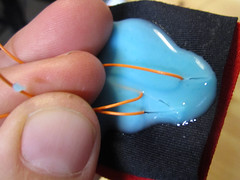
Preparing bend sensors to go inside glove. Coating them in liquid tape and super-gluing a tiny square of neoprene to them so that i can later sew then into place on the glove.

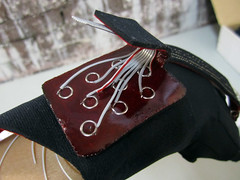
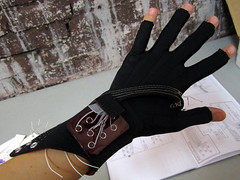
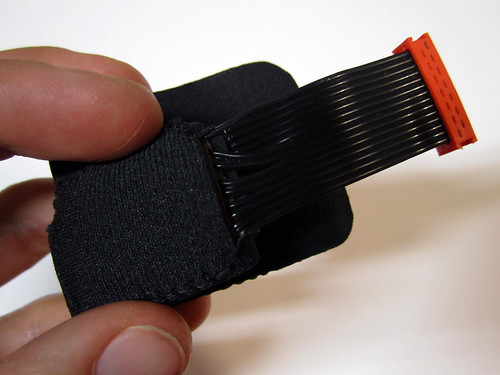
The not so great x-IMU connectors and pouches:
Shapelock microphone holder – hoping Kelly can use her Shapelock skills to mold it around the real mic, and make a press-fit holder for it!

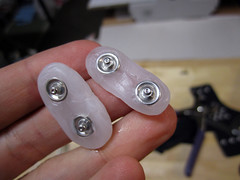
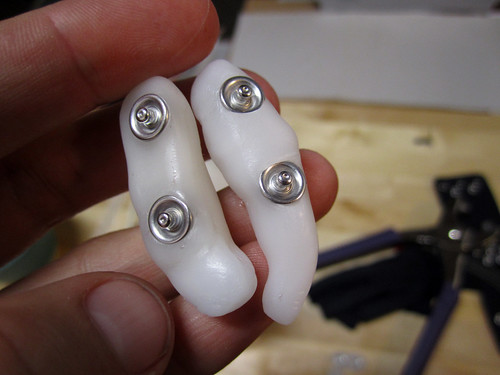
Final cast LED fixture and sewing on back:
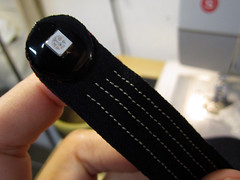
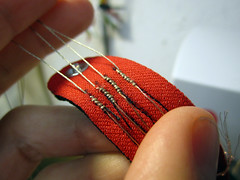
Gloves in progress
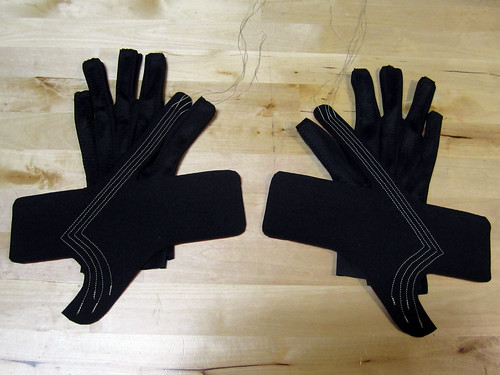
Casting strain-relief for sensor cables:
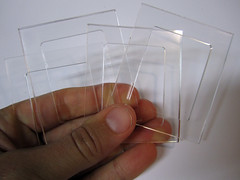
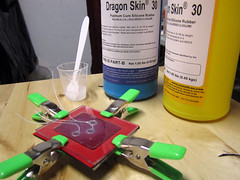
This works(!):
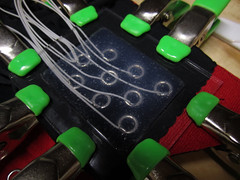

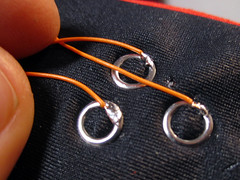
Soldering cables to snap connector:
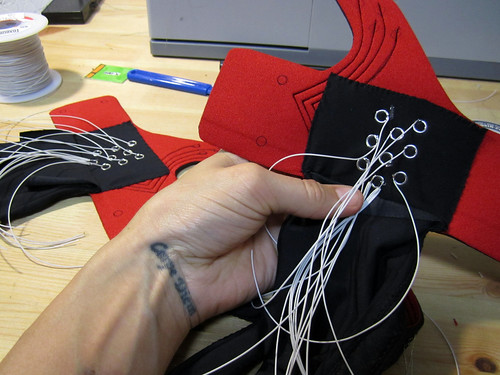
Testing strain-relief casting for sensor cables. Dragon Skin does not stick to neoprene. But it does stick to lycra!
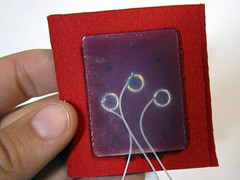

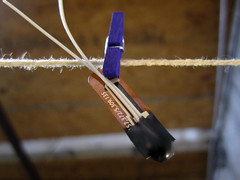
Testing strain-relief casting on sensors. Both unsuccessful.
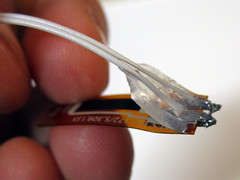
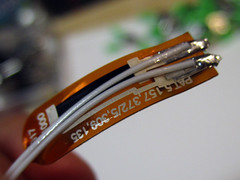
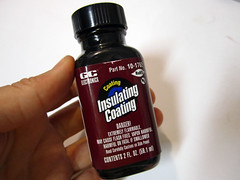
Liquid tape?
Casting x-IMU Connector
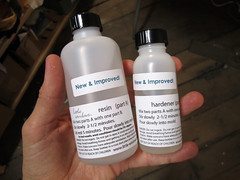
Little Windows resin sticks beautifully to neoprene:
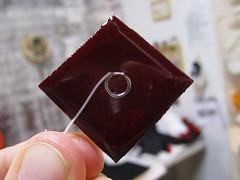
Looks good but went a bit messy on the back:
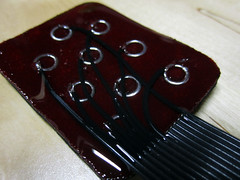
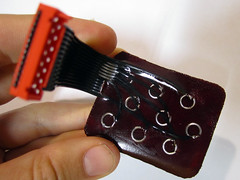
Second attempt:
Bend sensor layout:
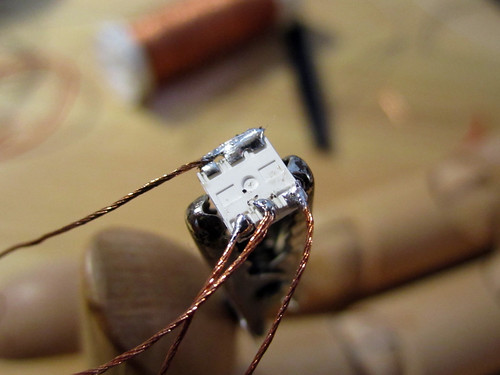
Casting LED in resin
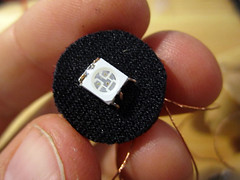

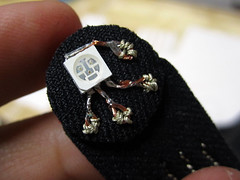
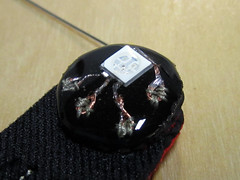
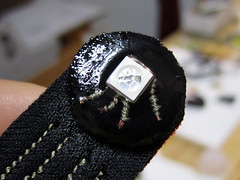
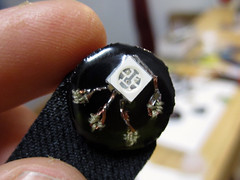
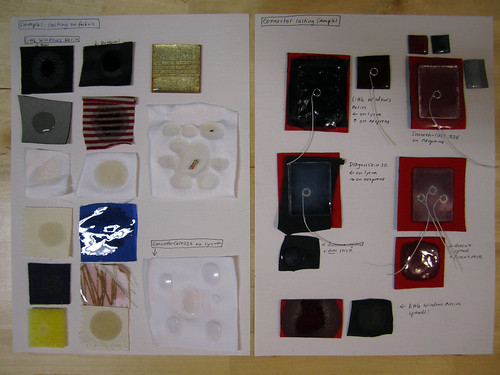
Casting samples:
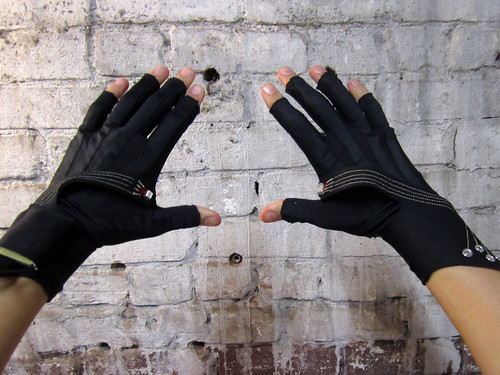
What two gloves will look like. Here they are not quite the same yet…
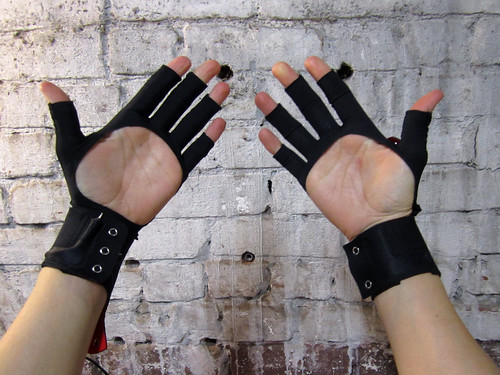
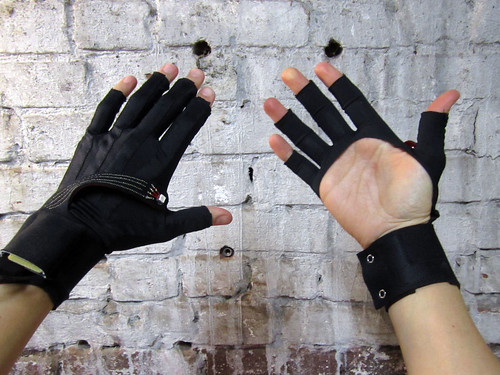
Adjusting Pattern…
…to fit perfectly!
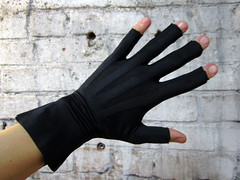
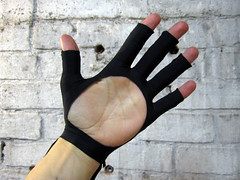
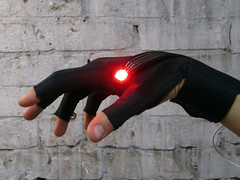
Red, Blue, Green, Orange, Purple…
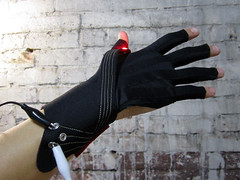
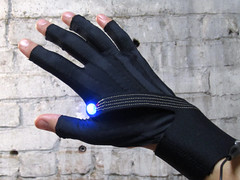
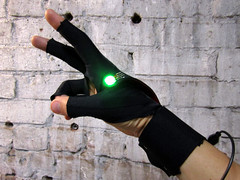
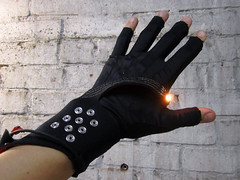
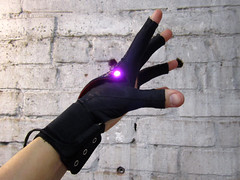
Mounting x-IMU diagonally???
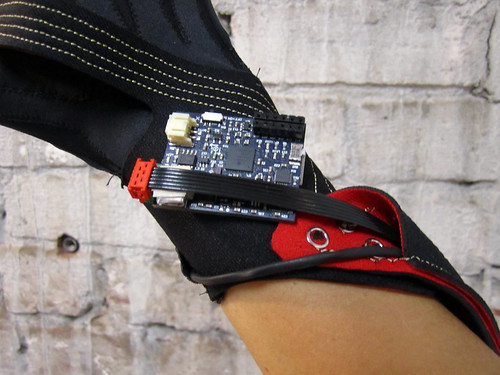
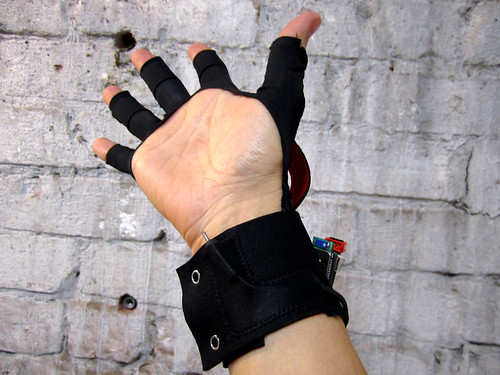
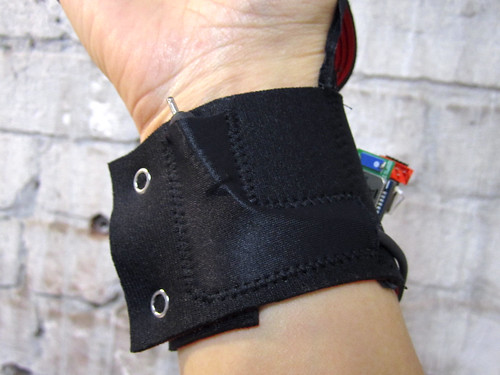
Having the pocket/pouch for the x-imu directly sewn to the wrist band stretches the fabric quite tightly over the circuit board. It might work better to have the x-imu in a separate pouch that snaps onto the wrist, even if the snap connections are not also the electrical connections.

Wrist Microphone
5.8 mm diameter x 11 mm height
Wireless lavalier microphone >> http://www.shure.com/americas/products/microphones/other/wl51-wireless-lavalier-microphone

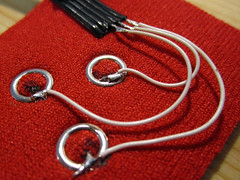
Connecting to RGB Mode LED
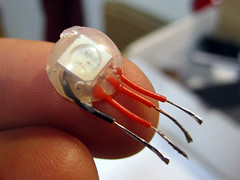
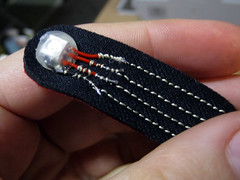

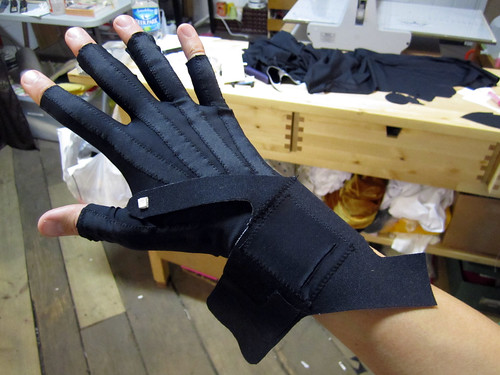
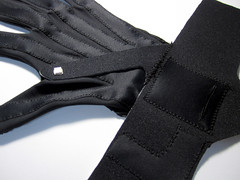
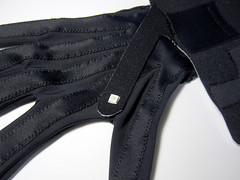
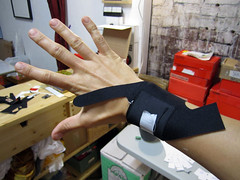
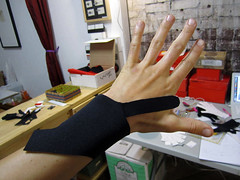
Connector Samples
Testing Mold Star silicone as a strain-relief and isolator:
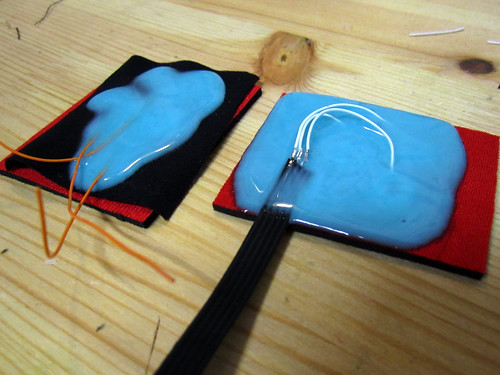
Rips to easily and does not bond with fabric:

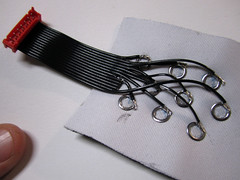

Voltage Divider Selection
hold on;
plot(R2, (R2 ./ (R1 + R2)), ‘k’, ‘linewidth’, 2);
hold on;
title(‘100k\Omega pull-up resistor’);
xlabel(‘Bend sensor (k\Omega)’);
ylabel(‘Output Voltage (×V_{in})’);
grid on;

In-line pull-down resistor circuit

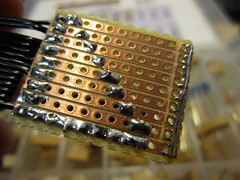
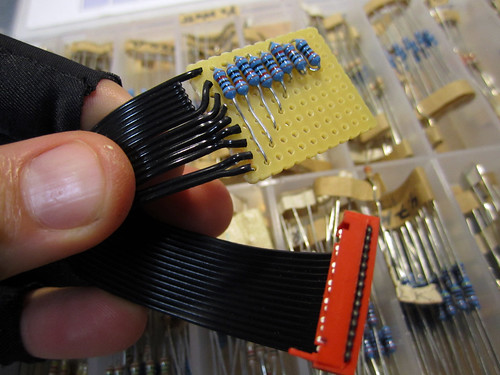
Sketches and Stencils for Version 6
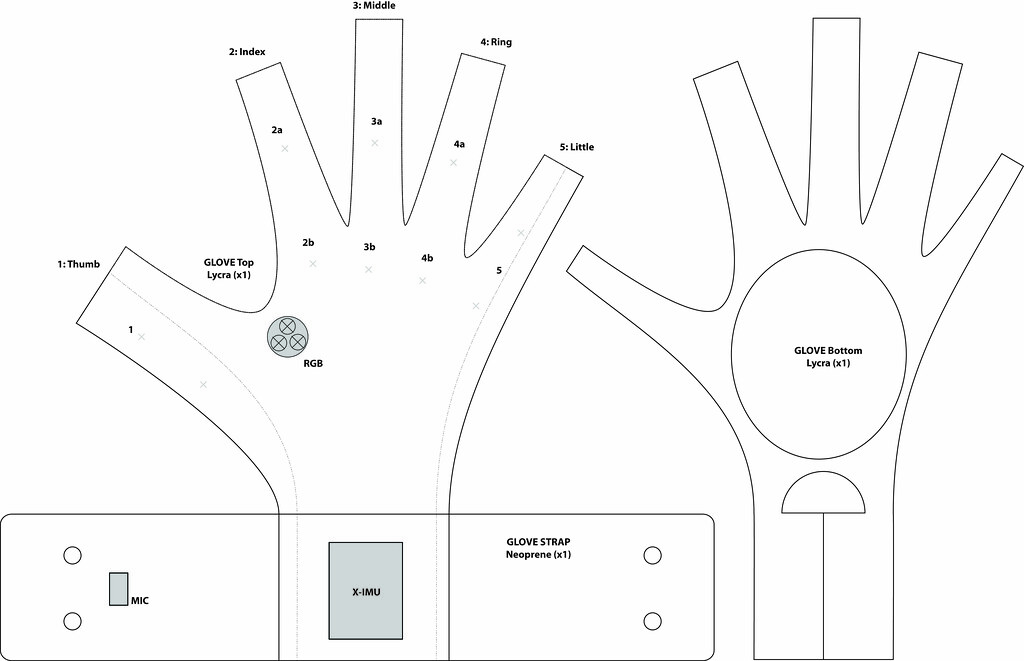
The Glove

In-line Circuits
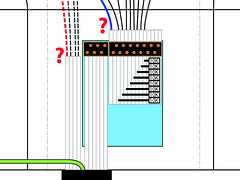
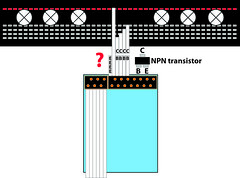
Connection sketches
Out of date!
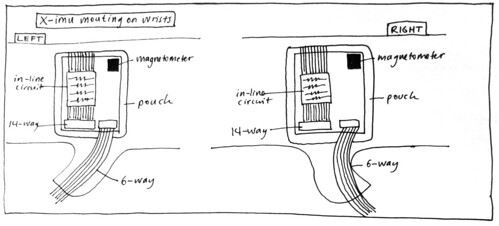
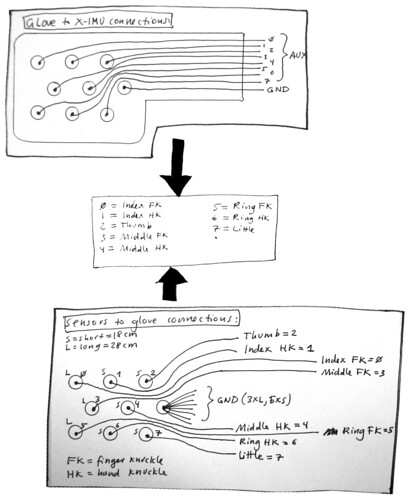
Testing Different Fabrics
Lycra on lycra
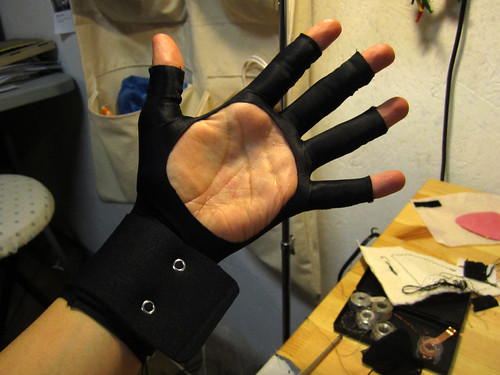
This version looks very slick and techie. It reminds me a bit of the 5DT glove. Maybe adding some colour?
The two 2” Flexpoint sensors are in the middle finger and the wires run inside the tube to the wrist.


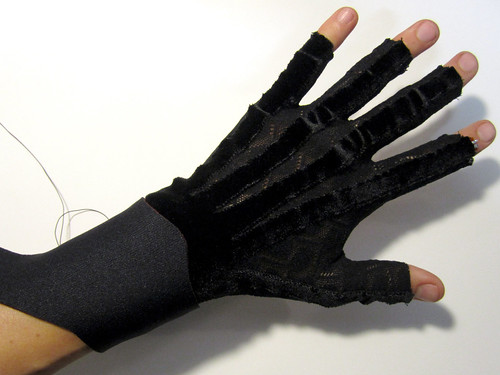
Velvet on lace
There is something nice about the velvet and the lace, but maybe it is too much to use them together. Their textures are less sci-fi and i was hoping that i might get them to look like a blend of past and future styles, but i don’t think it is working. Although maybe adding the x-imu and arm-band cables will help make it look more techie.
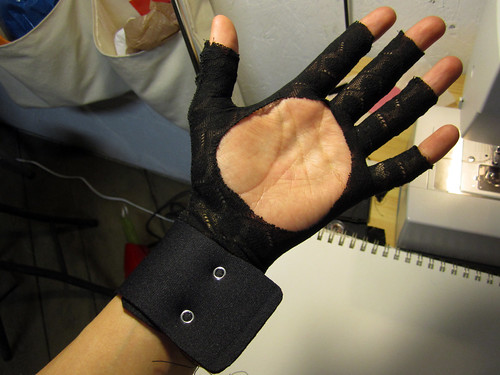
Material samples
Machine sewing on lace fabric
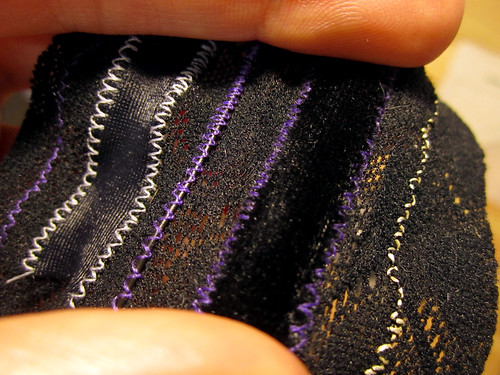
Velvet on lace and velvet on lycra

